How to Make a Logo in 3 Minutes
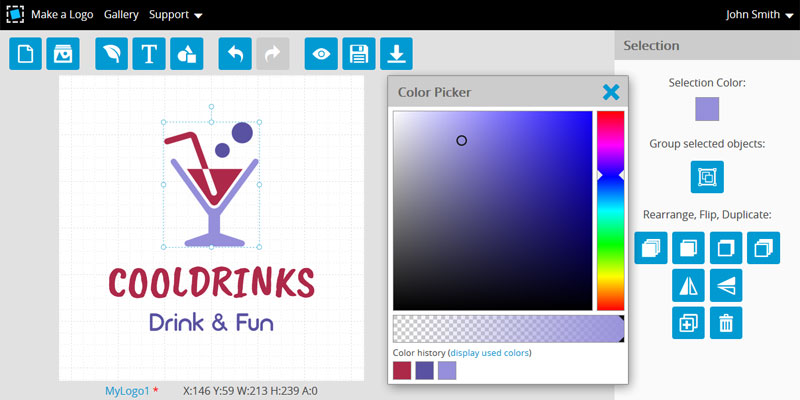
The reality is that any business or project needs a logo. Also, it is a fact that most people do not have the budget and time to hire a graphic designer. But I have good news! Using the tool for creating logos, anyone who does not have design skills can make the logo in a few minutes.
In this post, I will describe the steps to make the logo in 3 minutes. At the end of the post, you will find a link to the video tutorial.
Go to FoodLogoMaker
There’s a myriad of logo makers out there. But I prefer to use the best one - FoodLogoMaker because it is an easy-to-use, intuitive, yet powerful maker that really saves time. As a benefit, you get the logo for free. In accordance with Terms, your logo can be used without attribution for non-commercial projects.
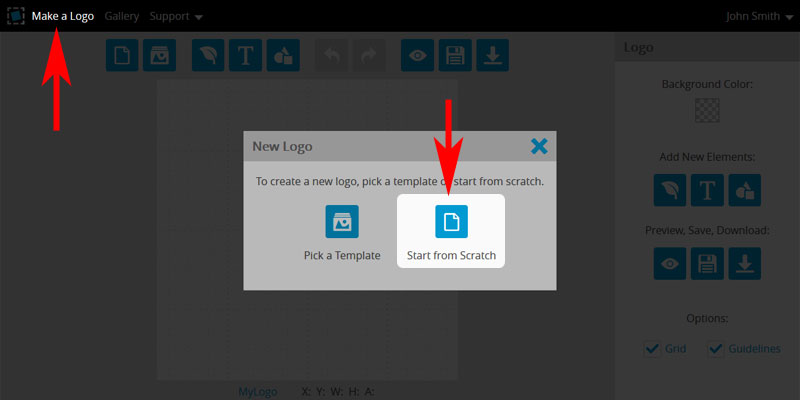
Go to the FoodLogoMaker.com and click on the "Make a Logo" link. There are many logo templates you can start from, but I will show you how to create your logo from scratch. Creating a logo from a predefined template will be described later in another post. To begin, click on the "Start from Scratch" button.
Add Icon
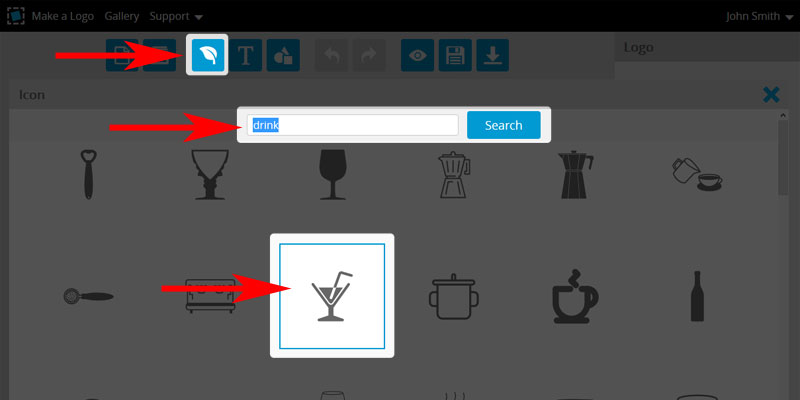
The main part of any logo is an icon. Click on the corresponding button in the top menu, then enter the keyword in the search field and click on the search button. FoodLogoMaker has thousands of icons you can choose from. Add a suitable icon to your logo, just by clicking on it.
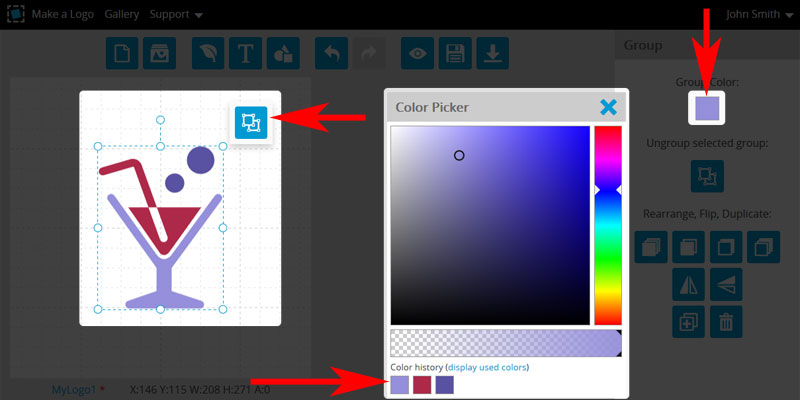
To make the icon unique, you should change its color, form, and add new elements. Initially, the icon is a group of elements. So, to have access to each element for customization, ungroup it.
Set the color of each element. To open a color palette, just click on the element to select it, and then click on the color box on the right. The Color Palette remembers the selected colors. So, you can choose the same color for multiple elements with one click.
For more uniqueness, add new elements, resize them, flip, rotate, etc.
Once you have finished the customization of the icon, it is recommended to group it back so that the icon becomes a single element that is easier to move or resize.
Add Brand Name and Slogan
Click on this button to add a text and type your brand name. Set the font type, font size, and change the color as you did it before. In the same way, add a slogan or baseline to the logo.
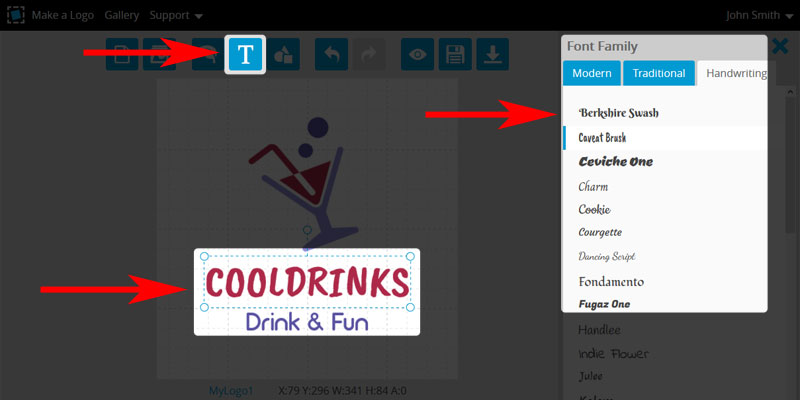
Final Adjustment and Preview
On the final step, as your logo has all the required parts, you can additionally adjust the position of the elements, set sizes, angles of inclination, correct the colors, etc. To make the logo really professional, I recommend you to follow these rules:
- Leave enough space between the icon and the texts. For example, if the height of the text is taken as 100%, the space between the icon and the brand name must be at least 60% in height. Also, neighboring elements should not "stick" to each other.
- Less is more. Do not add more than 3-5 extra elements to the icon. In my sample, I have added only two bubbles to the main icon - wineglass.
- Do not set more than 3-5 colors for your logo. In most cases, two elements located side by side should be in different colors.
Once your logo design has finished, preview how it looks on a business card, document, web page, cup, and T-shirt.
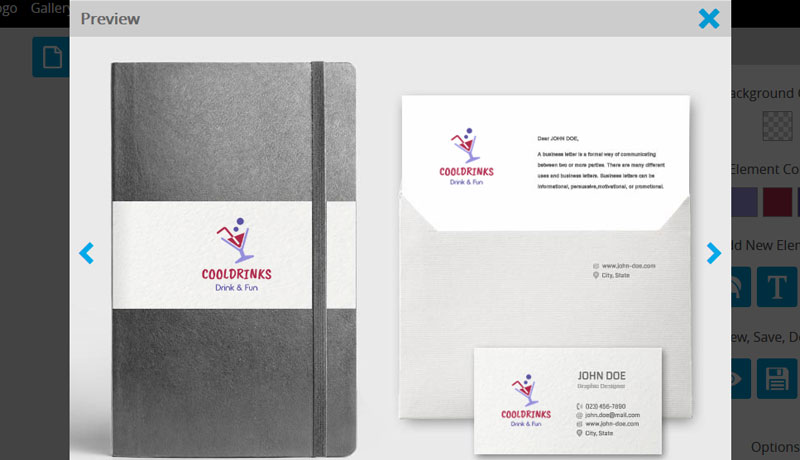
Save and Download
To keep the logo for future editing, save it in the "My Logos" collection in your account. At any time you can download your logo package for free by clicking on the Download button. FoodLogoMaker generates a single ZIP-package that contains all your files, ready for you to use.
Links
FoodLogoMaker: https://www.foodlogomaker.com
Video Tutorial: https://youtu.be/lDGvL07R1PE